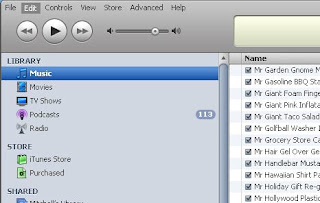
1. Open iTunes, then from the top Menu select Edit, then Preferences… (the keyboard shortcut for Apple is Command + “,”, for PC it’s CTRL + “,”)

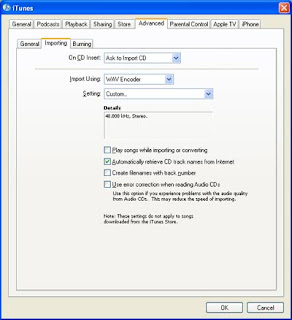
Click the “Advanced” Tab, and then select the “Importing” Tab in the menus below the top row of tab options.

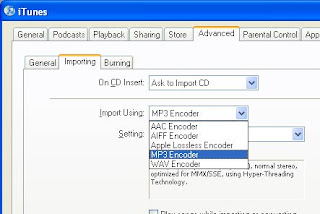
The second option in this menu is “Import Using:” – from the drop-down menu, select “MP3 Encoder”:

Immediately below, select a “Setting” option. For dialog, I recommend “Higher Quality (192 kbps)”:

Click OK at the bottom to save these settings.
Now, iTunes knows what to do, but we’ll also have to tell it WHERE to do it.
Import your file to iTunes; the easiest way to do this is to find the file and drag it into the iTunes interface. Depending on your settings, this will either
Make a copy of the file or add it to the iTunes index. Either way, this isn’t too important for today’s lesson.
OK, now your file is in iTunes:

Right-click the file (command-click on a Mac) and from the menu select “Convert Selection to MP3”. Once you click, the operation begins…

And when the operation is finished, you end up with a copy of the original file, with much smaller file size. The quality is only slightly diminished and for most dialog work, wouldn’t be noticed at all!

(Still having problems finding the file to FTP, email or YouSendIt? Just right –click the new MP3 and select “Show in Windows Explorer”).
No comments:
Post a Comment